Learn How to Replace a Graphics Card in a Desktop
Do you want to make your computer better at showing pictures and playing games? The easiest way of getting better visuals is replacing a graphics card. We will make this job easy for you in this guide. Here, we will know how to replace a graphics card in a desktop computer. Let’s get started to learn the adventurous procedure!
Step 1: Gather Essential Tools
Before starting to change graphics card, ensure you have all the essential tools. Typically, you need a Phillips-head screwdriver, a wrist strap, and a new graphics card.
Step 2: Turn Off the Power
After gathering essential tools, you need to turn off your computer. Then, you need to unplug all the electrical outlets that provide the power to the computer. You must ensure your safety to avoid any other electrical hazards.
Step 3: Open the Computer Case
Here, you need to remove the side panel of your desktop case to access the inside. You can use your screwdriver to remove a few screws to open the case and get access.
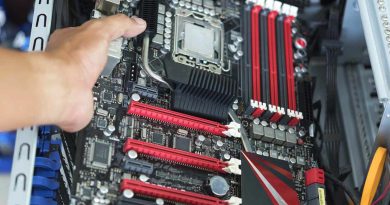
Step 4: Locate the Graphics Card
After opening the case of the computer, locate the existing graphics card. You will find it connected to the motherboard and secured by some screws to the case. Also, you will find some cables and connectors associated with the graphics card.
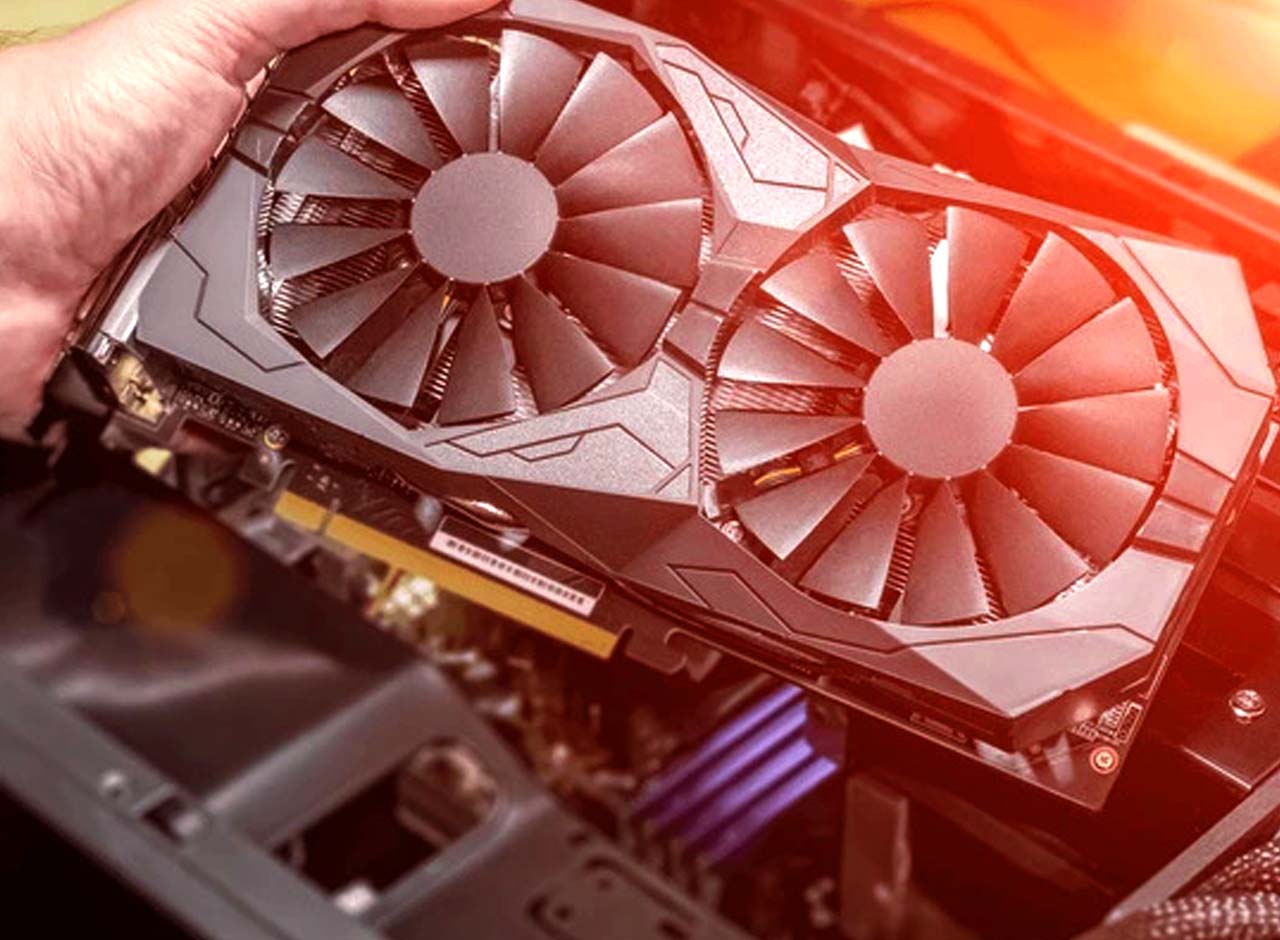
Step 5: Remove the Graphics Card
In this step, remove all the cables and connectors from your graphics card. Then, you can unscrew the screws that are holding the graphics card on the case. After that, hold the graphics card carefully and gently pull it out of the motherboard slot.
Step 6: Insert the New Graphics Card
Insert the new graphics card into the same motherboard slot you removed. Then, place it with a gentle push and ensure a click with the side clip. And then, secure the new graphics card with the case with the same screws that you removed previously.
Step 7: Reconnect the Cables
After securing the new graphics card, reconnect all the cables and connectors. Some graphics cards may require different types of connectors. So, ensure your new graphics card is connected with all the required connectors.
Step 8: Close the Computer Case
Now it is the time to put the side panel back on your computer case. Then, secure it with screws or latches that you remove earlier from the case.
Step 9: Power On and Install Drivers
Plug your computer back into the power source to turn it on. When your computer starts, install the latest graphics card drivers you get while purchasing it. Also, you can download the drivers from the manufacturer’s website.
Step 10: Test Your Graphics Card
Run some graphical applications to ensure your new graphics card is working correctly. Besides, you can play games to check your card is working properly.
If everything works well, you have successfully replaced your new graphics card on your desktop. In this way, you can boost your system’s performance for better visuals and gaming experiences.
Things to Consider Before Purchasing a Desktop Graphics Card
Before purchasing a brand new graphics card for your desktop, you should consider a few things. Thus, it is not just about making your computer faster but also compatibility with your desktop computer on a budget. Next, in our discussion, we will discuss what you must remember to replace graphics card.
Compatibility: Before purchasing a new graphics card, ensure it is compatible with your motherboard. Also, you need to ensure compatibility with your power supply and the design of the case. Thus, a new graphics card may need different slots and power connectors.
Performance: Identify the level of performance required based on your specific tasks. Determine what you plan to undertake, like gaming, video editing, design, or any other activity.
Budget: Set a clear budget for your graphics card, then find one to purchase. That will help you avoid overspending to meet your performance needs.
Video Memory: Consider the video memory size when buying a graphics card. Find how much memory they need if you use high-resolution and demanding applications.
Monitor Compatibility: Ensure your existing monitor’s resolution and refresh rate match the new graphics card. This alignment is essential for your specific display configuration and for getting accurate output.
Power: Make sure that your computer’s power supply can fulfill the new graphics card’s demands. Also, ensure that your existing power supply has the required cables and connectors for the replaced graphics card.
Cooling System: Look at the cooling system and solution of the graphics card that you want to buy. The better cooling system of the graphics card will help your computer to keep quiet and run smoothly.
FAQs
Can I have 2 graphics cards in my PC?
You can have two graphics cards on your desktop computer to boost performance. But not all computers support these two graphics cards at a time. The motherboard of the computer needs to have this feature. Also, you need to use identical cards. Besides, you will need a compatible power supply with the required connectors.
Does every PC have a graphics card?
Not every desktop computer has a special graphics card. Some motherboards have built-in graphics that are part of the main computer chip. Computers with a separate graphics card are often used for gaming or powerful graphics related tasks like video editing and graphic design.
If I upgrade my graphics card do I need to upgrade anything else?
If you want to upgrade your existing graphics card, you do not need to upgrade anything. But you should uninstall the current graphics card driver before upgrading to a new one. Also, you should install a new graphics card driver after completing the replacement procedure.
The above discussion is about how to replace a graphics card on a desktop computer. Also, you can learn about troubleshooting a computer power supply from our other discussion. Click here to learn more about desktop memory installations.